How to Scan a Document to Your Phone with Microsoft Office Lens?

Do you know that you can use your mobile phone to scan documents? Of course, you may use your mobile phone’s camera to take a snapshot of your document, but the quality will not be good. So, is there a better way? The answer is yes! Today, I want to show you how to scan a document to your phone with Microsoft Office Lens. You can get high quality scanning documents using Microsoft Office Lens.
Microsoft Office Lens is a free mobile scanning app that turns your mobile phone or tablet into an instant efficient scanner. You can find this app on both Android and iOS devices and it does not cost you anything to use. With Microsoft Office Lens, you can now instantly scan a receipt, business card, document notes and even whiteboards writing with your mobile phone. I always love that!
In this post, I am using an Android phone to show you. However, the overall process should be similar if you are using an iOS device. Without further ado, let’s look at how it works.
Install Microsoft Office Lens on Mobile Phone
For android phone, you can download the app from Play Store and for iPhone, you can download from App Store. Simply type in “Microsoft Office Lens” in the search box and the app should be shown on the top view. Tap on the “Install” button to start the installation. After the installation, tap on the “Open” button to run the app and give it permission to access your camera.

Scan Your Document
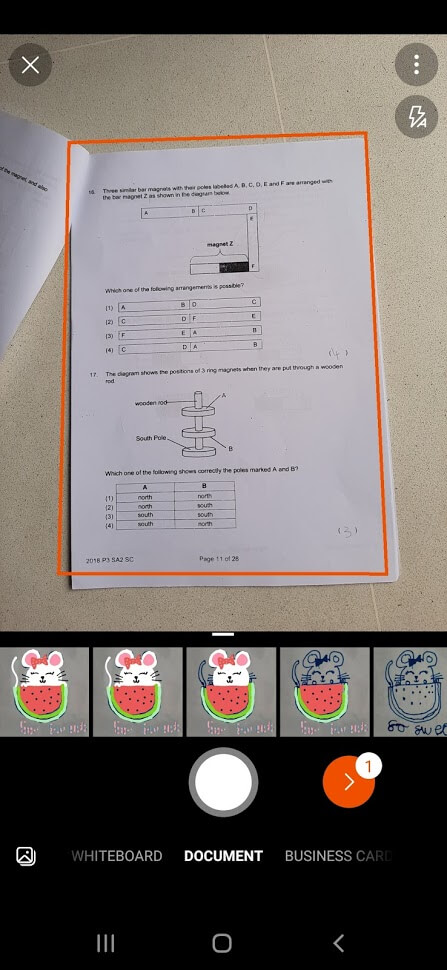
The default “view” in the app is a live camera viewfinder. There are four available document image types at the bottom of the app, Whiteboard, Document, Business Card and Photo. For our case, choose “Document” image type for your scanning. Now, you can point the camera at a document you want to capture.
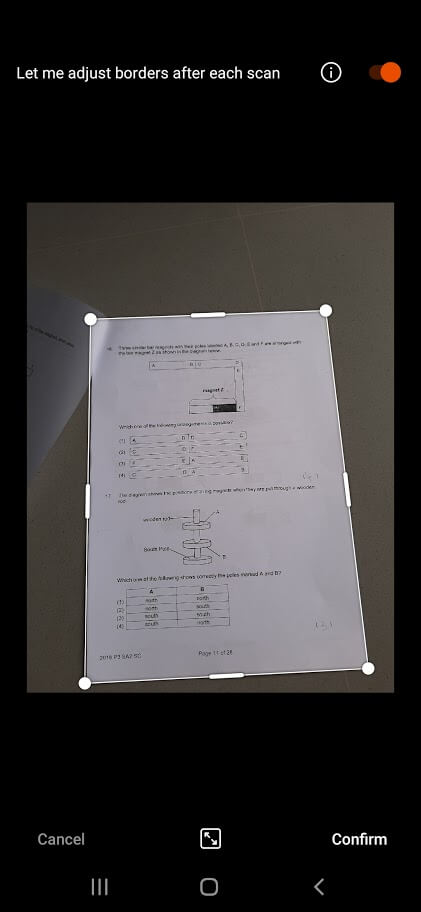
When pointing to a document, you will see a red color border attempt to automatically frame around the document as you move. Once the frame encompasses the area you want to capture, tap the shutter button to capture the image. After a moment of processing, you will see a preview of your document. If you need further cropping to the document, you can adjust the frame around the document. Once you are done cropping, tap “Confirm”.
 |  |
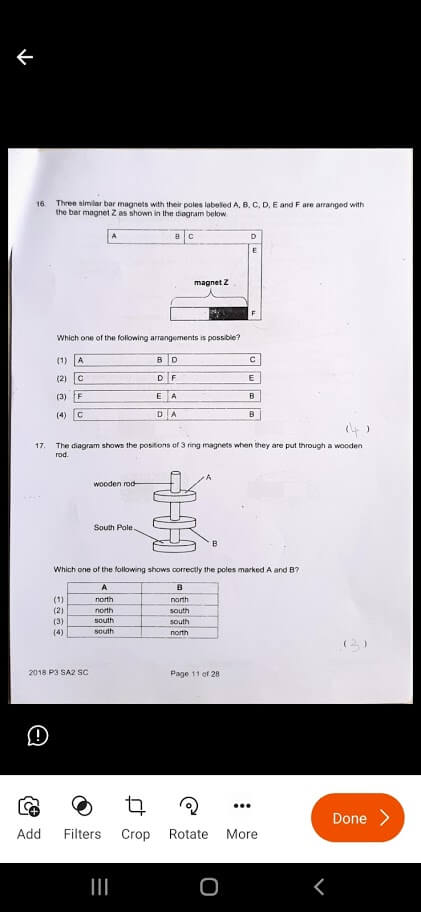
Now, you will see a nicely scanned document preview. However, if you are scanning multipage documents, tap on the “Add” icon from the menu at the bottom of the app. It is the first icon of the menu. You can also adjust the brightness of the document using the “Filters” icon. Lastly, if you are satisfied with the alignment and ready to save, tap the “Done” button.
 |  |
Save Your Document
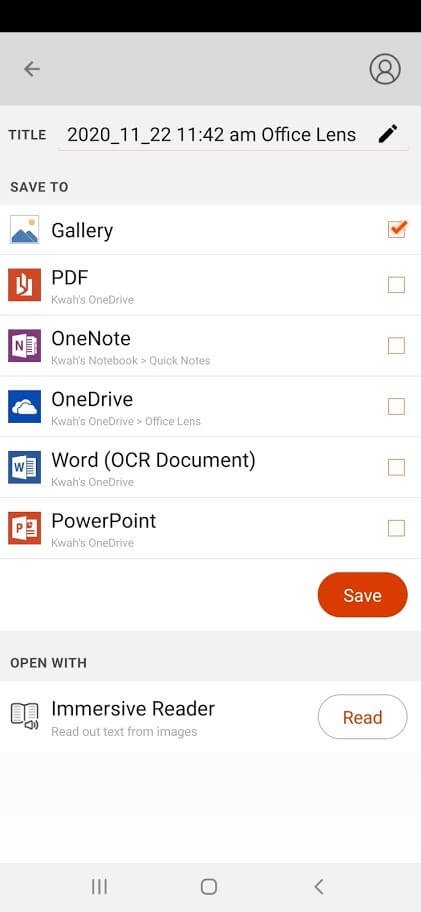
The last step is to choose the storage location for your scan documents. Give your document a title before you choose the storage location. Microsoft Office Lens offers few options to store your item. You can either choose to store in your phone storage, OneNote or OneDrive. Once you have exported your file, you will go back to the viewfinder view and ready to capture another document.
Conclusion
Microsoft Office Lens is an amazing app. You can instantly turn your phone into a PDF scanner that give you high quality image. Most importantly it is free, and I always love that! Thank you for stopping by at my website. Hopefully, this post helped you learn how you can scan a document to your phone with Microsoft Office Lens. If you want to see future posts like this, please subscribe to my mailing list. Lastly, if you have any other ideas or any post that you want me to create, kindly leave me a comment at the box below. Thank you!